Rubber Extrusion Process with Elbex: From Concept to Creation
Rubber extrusions are incredibly versatile, used across a wide range of industries. At the same time, we recognize that understanding the basics of rubber extrusion for beginners can be challenging. In this blog, we’re going to provide a step by step overview of the rubber extrusions process, and how Elbex’s approach to the rubber extrusion process can benefit your company.
The Fundamentals of Rubber Extrusion
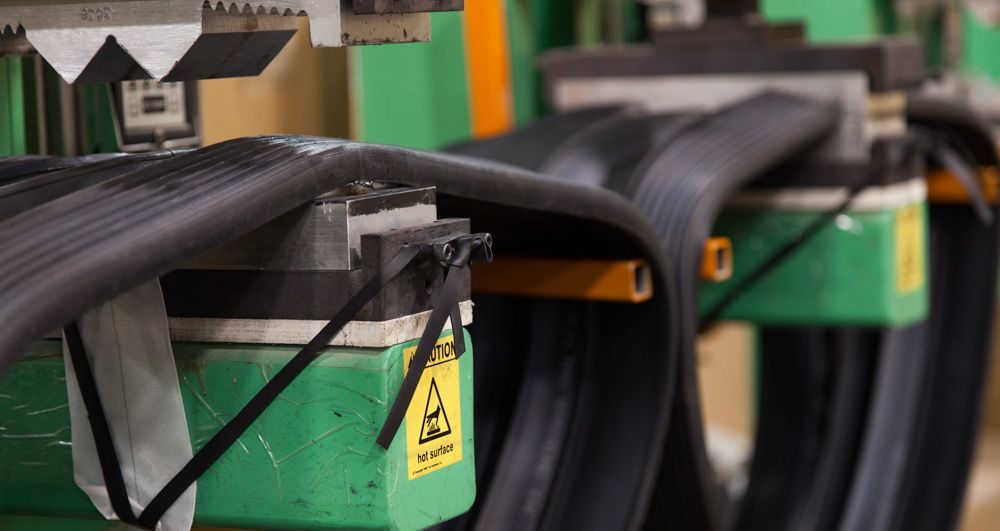
Rubber extrusion is a process in which uncured rubber materials (such as EPDM, silicone, neoprene, and nitrile) are forced through a shaped die. This is done to create a long, continuous profile, reducing waste and making the production of rubber extrusions more efficient. The extruder forces the rubber through the die, which can be adapted to create different shapes for different applications.
The continuous profile then goes into a cooling system, where it cures and hardens. After it is cured, handling equipment allows the long profile to be cut to length to form multiple extrusions.
Elbex's Streamlined Rubber Extrusion Process: A Step-by-Step Overview
At Elbex, we follow a five-step process for streamlined rubber extrusion creation:
- Step One: Initial Consultation and Design Input. Most projects start when the client provides design information. This usually comes in the form of a drawing or sketch that provides a visual of the extrusion, or a physical sample that we can reverse engineer.
- Step Two: In-House Die Creation. Once we have a finished design, we manufacture our rubber extrusion dies in-house. By eliminating the need for external vendors, we can lower costs and provide a faster turnaround. This also ensures that the die is the proper shape for the extrusion.
- Step Three: The Extrusion Process. Once the custom-made die is ready, we use our extrusion equipment to force the heated rubber through the die. The right level of heat and pressure is essential to maintain the right shape during this step.
- Step Four: Curing and Vulcanization. After going through the die, the rubber is vulcanized (or cured) with chemicals like sulfur to help it harden and improve its physical traits.
- Step Five: Cooling and Handling. After the extrusion has cured, it needs to cool. Cooling completes the hardening process, after which the rubber can be cut to length or spooled based on application needs.
Elbex’s Commitment to Your Project: Beyond the Basics
At Elbex, our commitment to your project’s success goes beyond the basics. In addition to producing custom profiles catered to your specific requirements on-site, we offer technical resources to help your design team – and we can offer design assistance and troubleshooting as needed. Our experienced team can also recommend the right materials for different use cases so you can have confidence your extrusions will stand the test of time.
From initial design input to the handling stage, you can count on Elbex’s efficient, client-focused approach to deliver the results you need. With in-house tooling and engineering support, we deliver dependable results that meet and exceed expectations. Whether you’re a newbie or an experienced pro,
contact us today to get started on your next rubber extrusion project.